Rocket.net Launches a New Developer Hub With Full MCP Integration, Letting Customers Effortlessly Manage Their WordPress Sites From Claude, ChatGPT, and More
- •
- 5 min read

Some things just shouldn’t require a support ticket.
Transferring a site to another Rocket.net account is one of them.
Up until now, you had to loop in our team to move a site between accounts. It worked, but it wasn’t ideal. And if you’re managing client projects, consolidating accounts, or just cleaning things up, waiting on us shouldn’t be part of your workflow.
Starting today, it isn’t.
If you’re the site owner, you can initiate a site transfer directly from the control panel. No back-and-forth. No hand-holding. No unnecessary delays.
And here’s our favorite part: this isn’t a migration.
We’re not copying files. We’re not rebuilding environments. We’re changing ownership at the database level.
This means once the transfer is approved, the process completes in about 100 milliseconds.
That’s not marketing-fast. That’s actually fast.
To transfer a site to another Rocket.net account, you’ll want to head to the Site view in your dashboard.
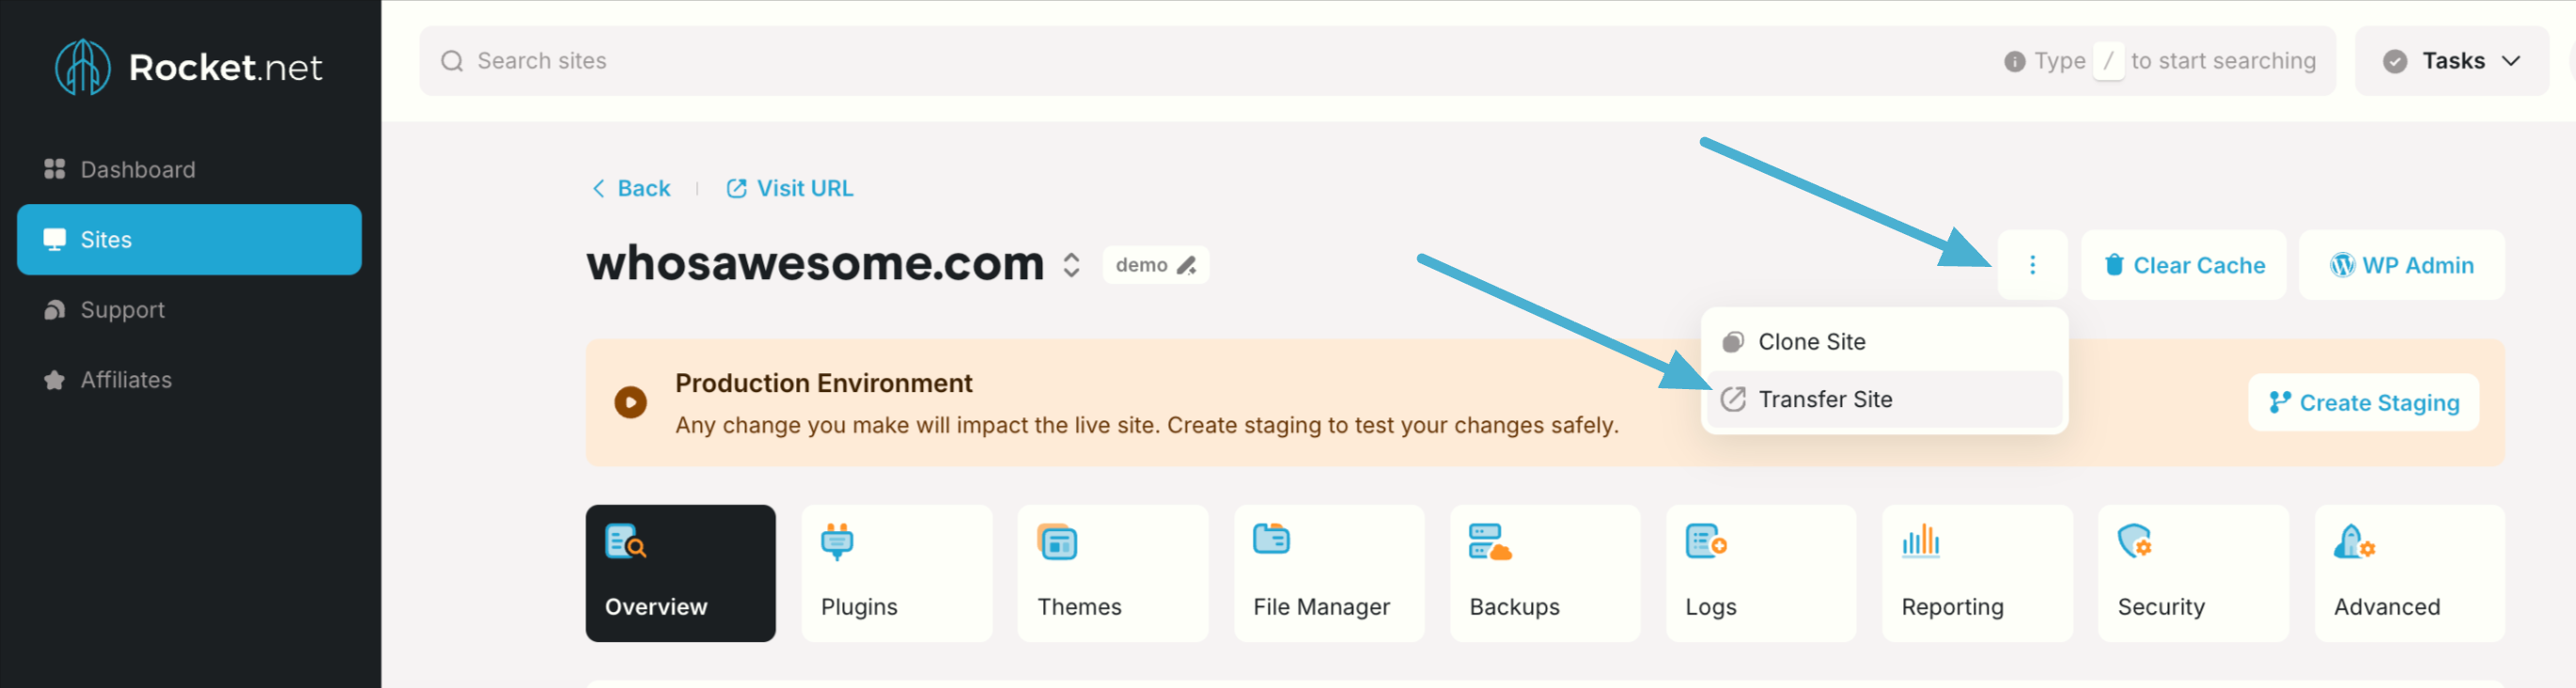
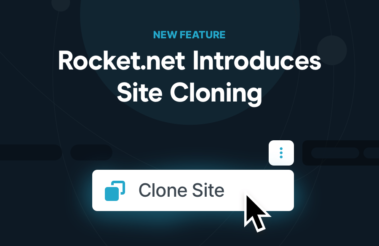
Click the three-dot menu next to Clear Cache and WP Admin, then select Transfer Site.
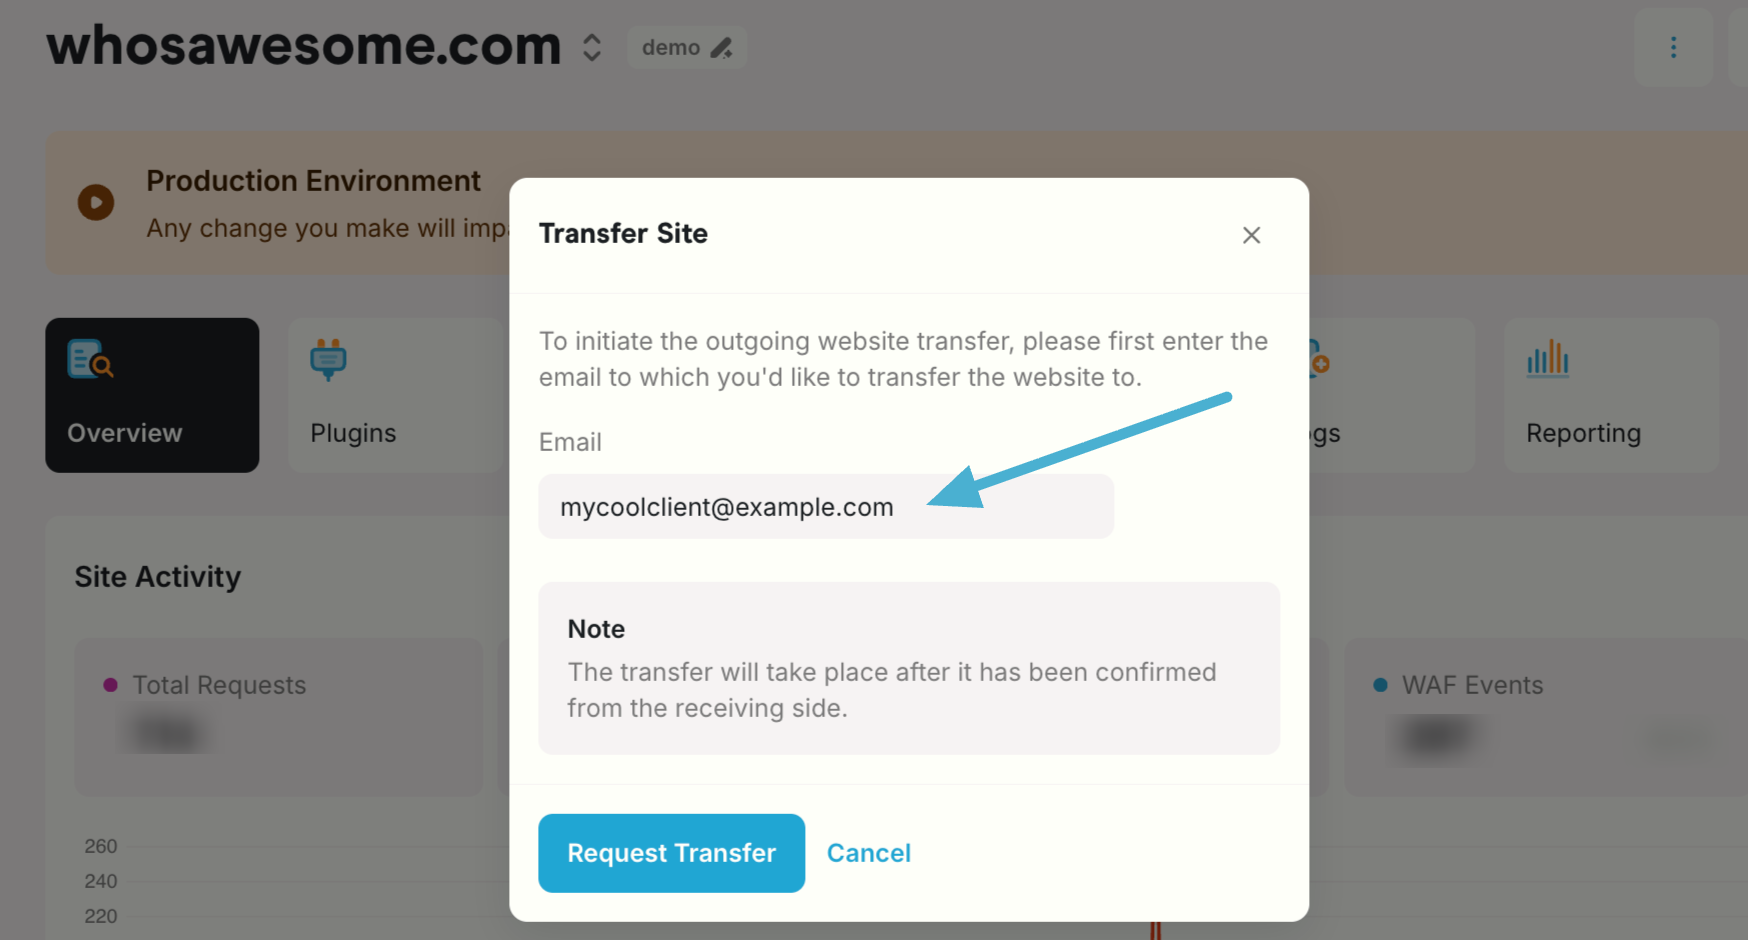
Enter the email address of the new owner and confirm.
From there:
The site disappears from your dashboard and appears in theirs. No downtime. No infrastructure changes. No weird “in between” state.
Just… Done.
Maybe you’re handing a finished project off to a client.
Maybe you’re restructuring accounts.
Maybe you’re cleaning up ownership after a team change.
Whatever the reason, transferring sites between Rocket.net accounts should be simple. Now it is. You’re in control.
It’s immediate, and it works the way you’d expect a modern platform to work.
As always, our team is here if something looks off. But for routine ownership changes, you don’t need us in the middle anymore.
Stay tuned, because this is just the beginning of what’s coming this year at Rocket.net.